> For the complete documentation index, see [llms.txt](https://help.tellius.com/llms.txt). Markdown versions of documentation pages are available by appending `.md` to page URLs; this page is available as [Markdown](https://help.tellius.com/settings/users-and-access/security-tags.md).
# Security Tags
Security Tags are one of the ways in which Tellius controls **row-level data access**. A row-level policy governs which *rows* of data a user is allowed to see inside a Dataset or Business View — as opposed to which columns or which reports they can open. For example, it can restrict a user to only the records for their own region instead of the entire table.
Rather than writing a separate access rule on every dataset or query, you define a **Security Tag** once and reuse it. Security Tags currently govern row-level access in Kaiya (specifically in live Kaiya Missions and live Apps) where they replace the previous row-level permission implementation. For everything outside Kaiya, **Row Level Policy** continues to be the mechanism that controls row-level access, and it remains fully supported.
### **Security Tags vs Row Level Policy**
Tellius offers two ways to restrict which rows a user can see. They solve the same problem from different directions, and it's worth knowing which one you're using.
A **Row Level Policy** is defined against a specific Dataset or Business View. You write the rule where the data lives, so the rule and the data are bound together. If ten Business Views contain a Region column and you want the same regional restriction on all ten, you configure that restriction ten times, and you maintain it in ten places.
A **Security Tag** inverts this. You define the tag once as a reusable concept (*Region, Brand, Territory* etc.) then assign each user or group the values they're allowed to see, and separately map the tag to a column wherever that column appears. The same tag can be mapped to a *Region* column in ten different Business Views, and every user assignment applies to all of them. Change someone's assigned values once, and their access updates everywhere the tag is mapped.
| | Row Level Policy | Security Tag |
| ------------------------- | -------------------------------------- | ------------------------------------------------ |
| Where the rule is defined | On a specific Dataset or Business View | Once in Settings, then mapped to columns |
| Reuse across objects | Configured separately for each one | One definition, mapped in many places |
| Where user values are set | Within the policy | On the user or group, independent of any dataset |
| Updating access | Edit each policy | Edit the assignment once |
| Best suited to | A restriction specific to one dataset | A dimension that recurs across your data |
**Which to use:**
* If the restriction only ever applies to one Dataset or Business View, a Row Level Policy is the simpler choice.
* If you're restricting by a dimension that appears across several Business Views and especially if the same people need the same restriction everywhere, a Security Tag will be less work to set up and much less work to maintain.
The two coexist in the same environment. Setting up a Security Tag does not remove or override an existing Row Level Policy, and a Row Level Policy does not need to be deleted when you start using Security Tags.
### The Security Tags list
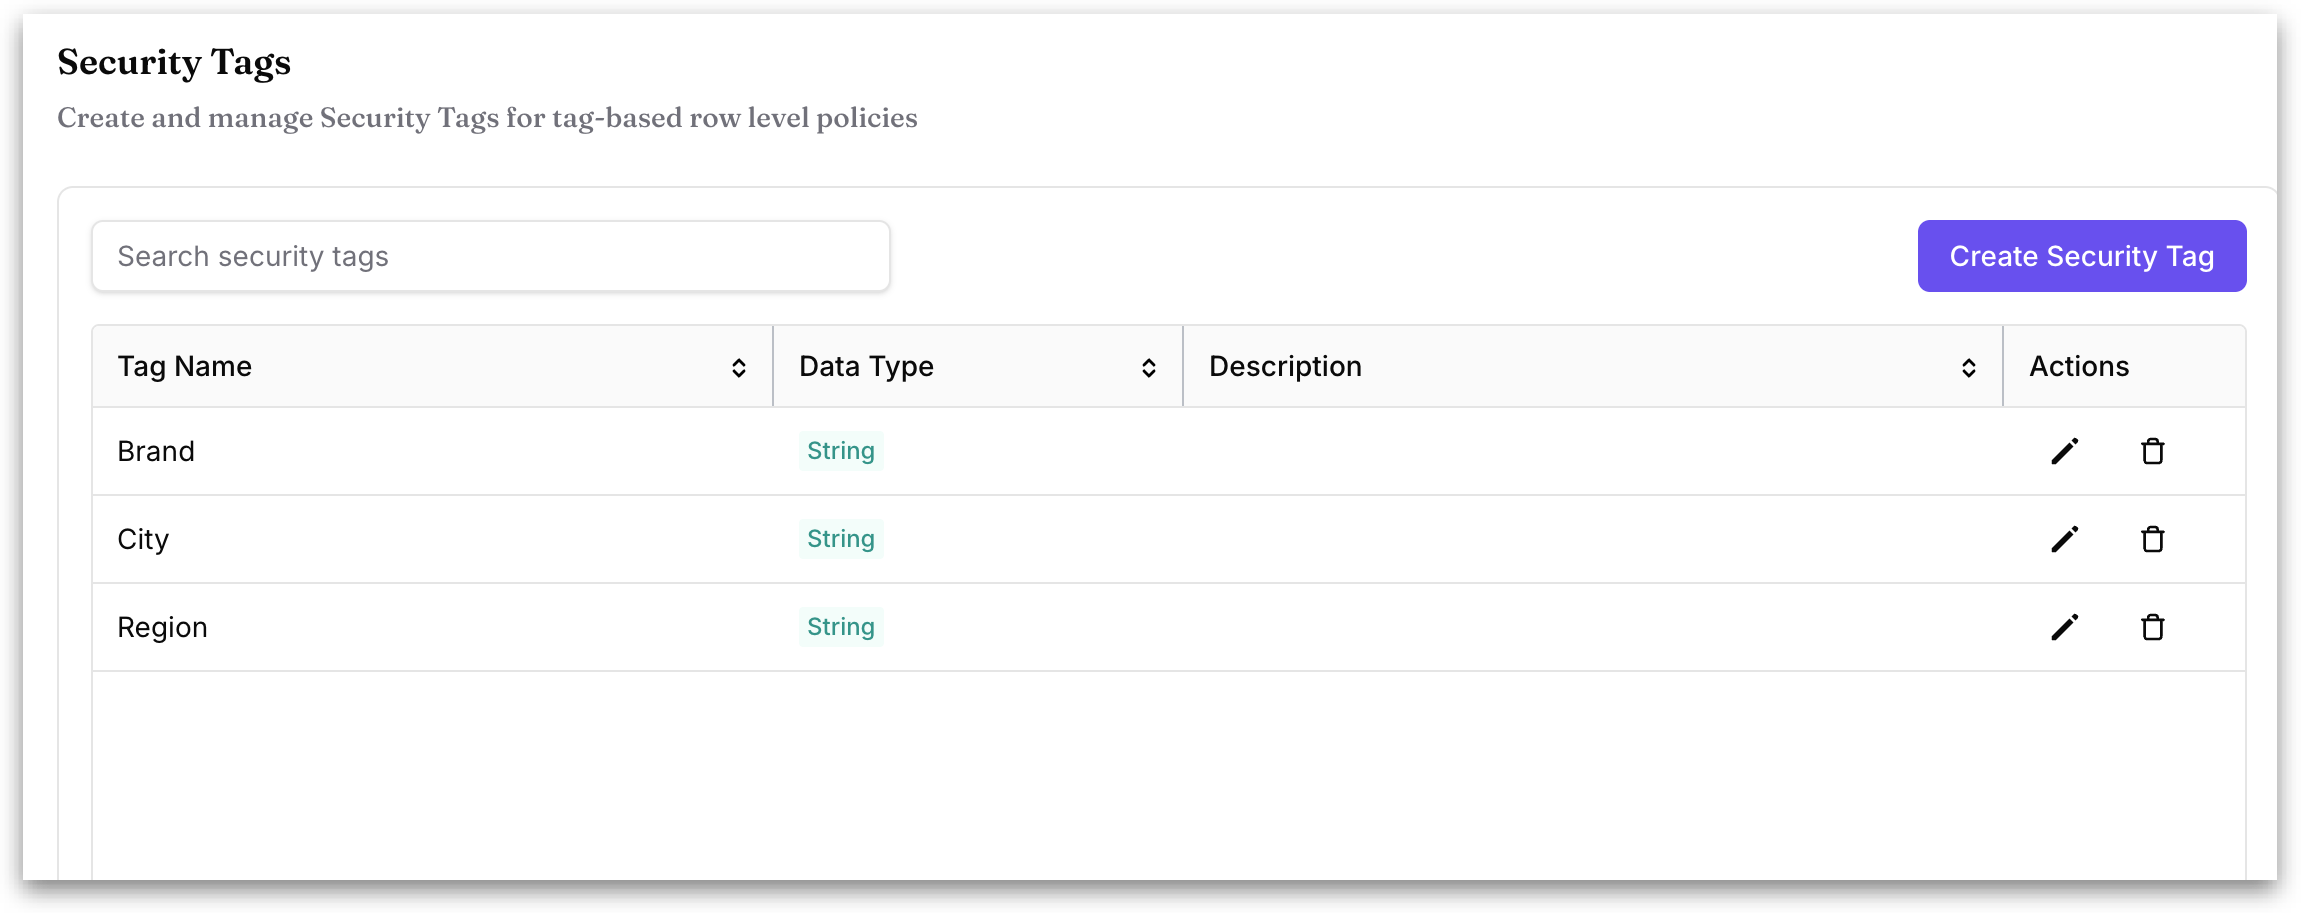
Under **Settings → Workspace → Users & Access → Security Tag**, you can create and manage Security Tags for tag-based row-level policies.
The main page lists every Security Tag defined in the workspace. Each row shows the tag name and its properties:
Under **Actions,** an edit icon (pencil) and a delete icon (trash) for that tag.
A search box at the top left filters the list, which helps once many tags exist. The Tag Name, Data Type, and Description columns can be sorted using the arrows in their headers. The **Create Security Tag** button at the top right opens the creation dialog.
### How to create a Security Tag
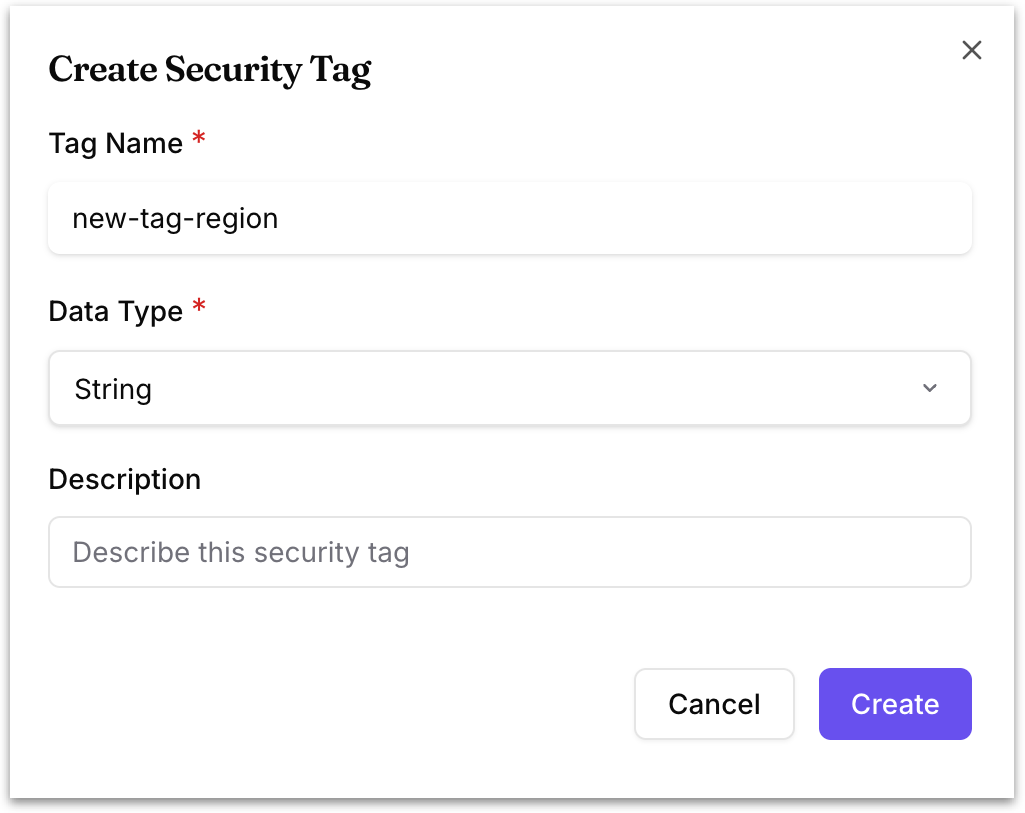
Click **Create Security Tag** to open the dialog, which has three fields:
* **Tag Name** (required): a unique, descriptive name. Choose one that reflects the dimension you are controlling access by, such as Region or Brand.
* **Data Type** (required): the value type.
* **Description** (optional): a short explanation of the tag's purpose, so other admins understand what it governs.
Click **Create** to save the tag, or **Cancel** to discard it. The new tag then appears in the list and becomes available to apply to columns and assign to users or groups.
### How to edit a Security Tag
Click the pencil icon on a tag's row to reopen the form with its current values, where you can change the name, data type, or description.
### How to delete a Security Tag
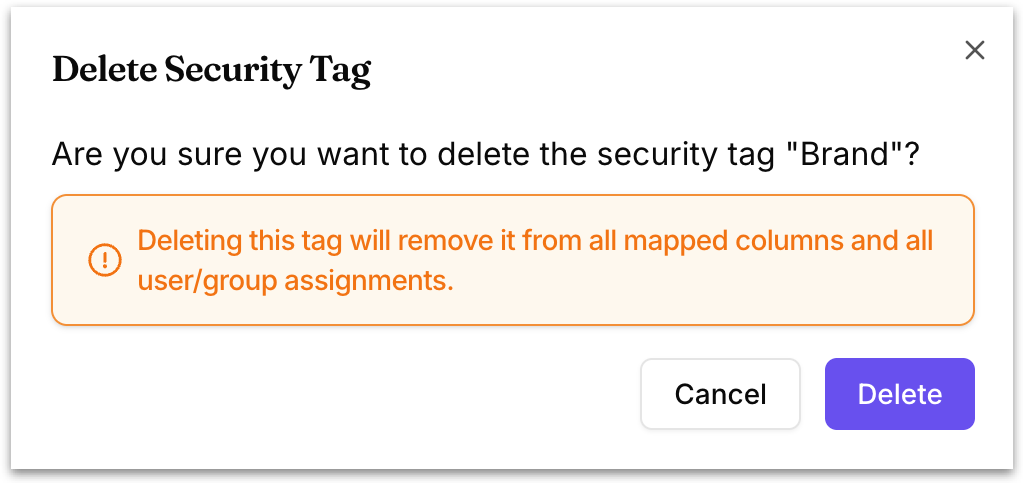
Click the trash icon to delete a tag. A confirmation dialog appears, naming the tag and warning that deleting it will remove it from all mapped columns and all user and group assignments.
Because a single tag can govern access in many places at once, deleting one can immediately change what data users are able to see, so it is worth reviewing where the tag is used first. Click **Delete** to remove it or **Cancel** to keep it.
### How Security Tags are used in practice
A Security Tag by itself is only a definition. It takes effect through two connections: users or groups must be **assigned the values** they are allowed to see, and it must be **applied to a column.**
#### **Step 1: Assign values to users or groups**
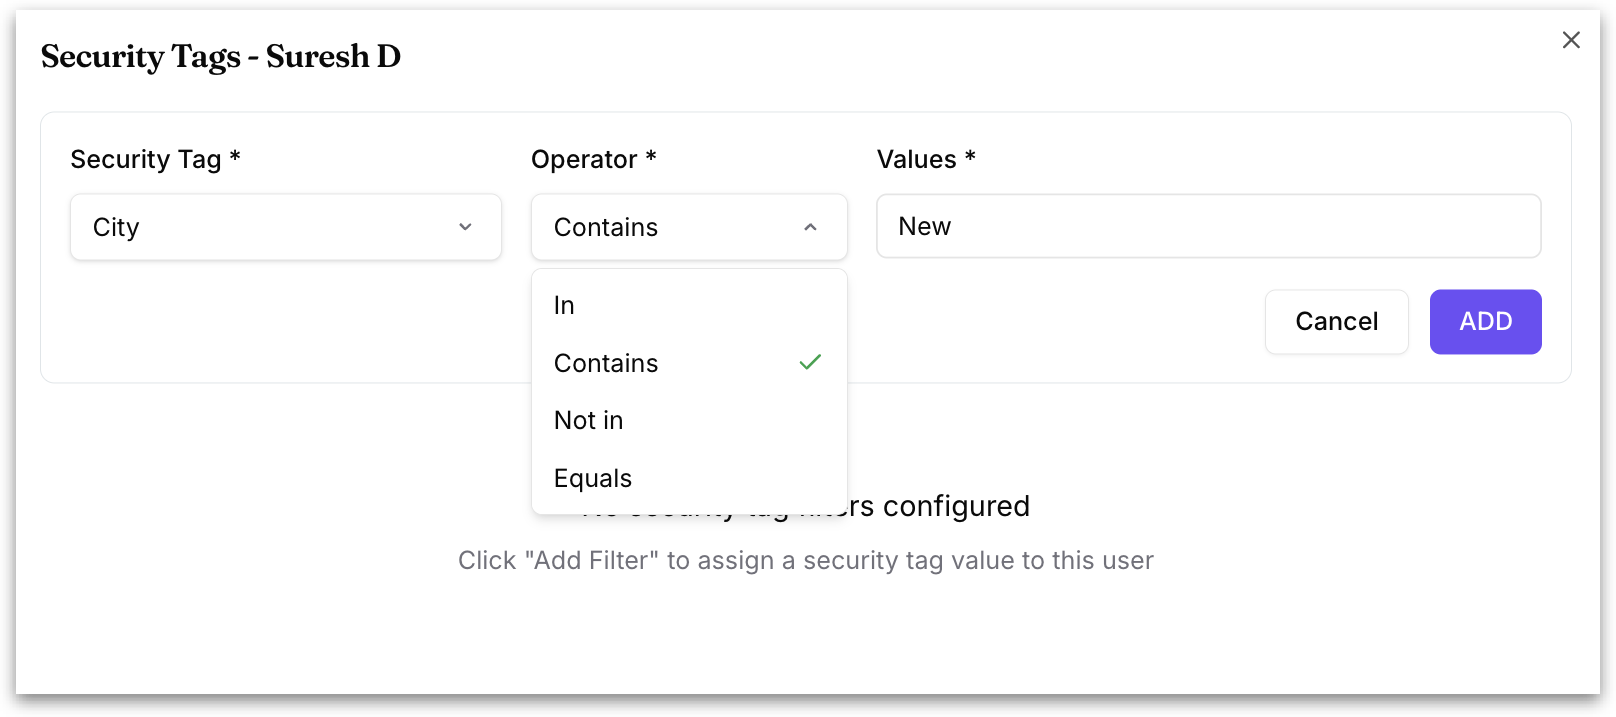
A security tag does not restrict anything on its own. You have to tell Tellius which values each user or group is allowed to see by adding one or more **security tag filters**. Each filter has three parts: a **Security Tag**, an **Operator**, and one or more **Values**.
Users and groups use the same filter form.
**Assign a filter to a user**
1. Open the **Users** page.
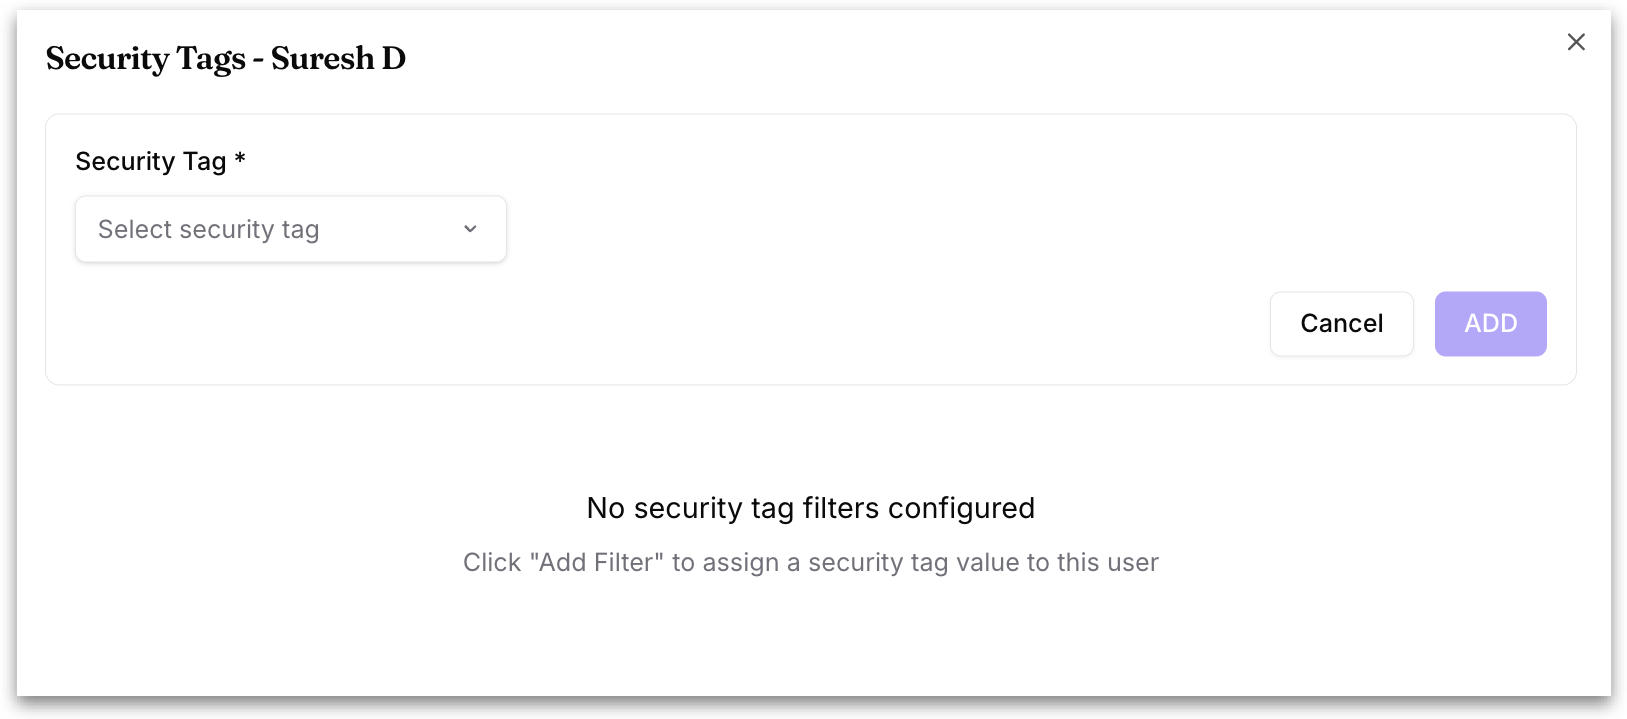
2. Find the user, click the three-dot (⋮) menu at the end of their row, and choose **Security Tags**.
3. The "Security Tags – \[username]" dialog opens. When none are set yet, it reads "No security tag filters configured." Click **Add Filter**.
**Assign a filter to a group**
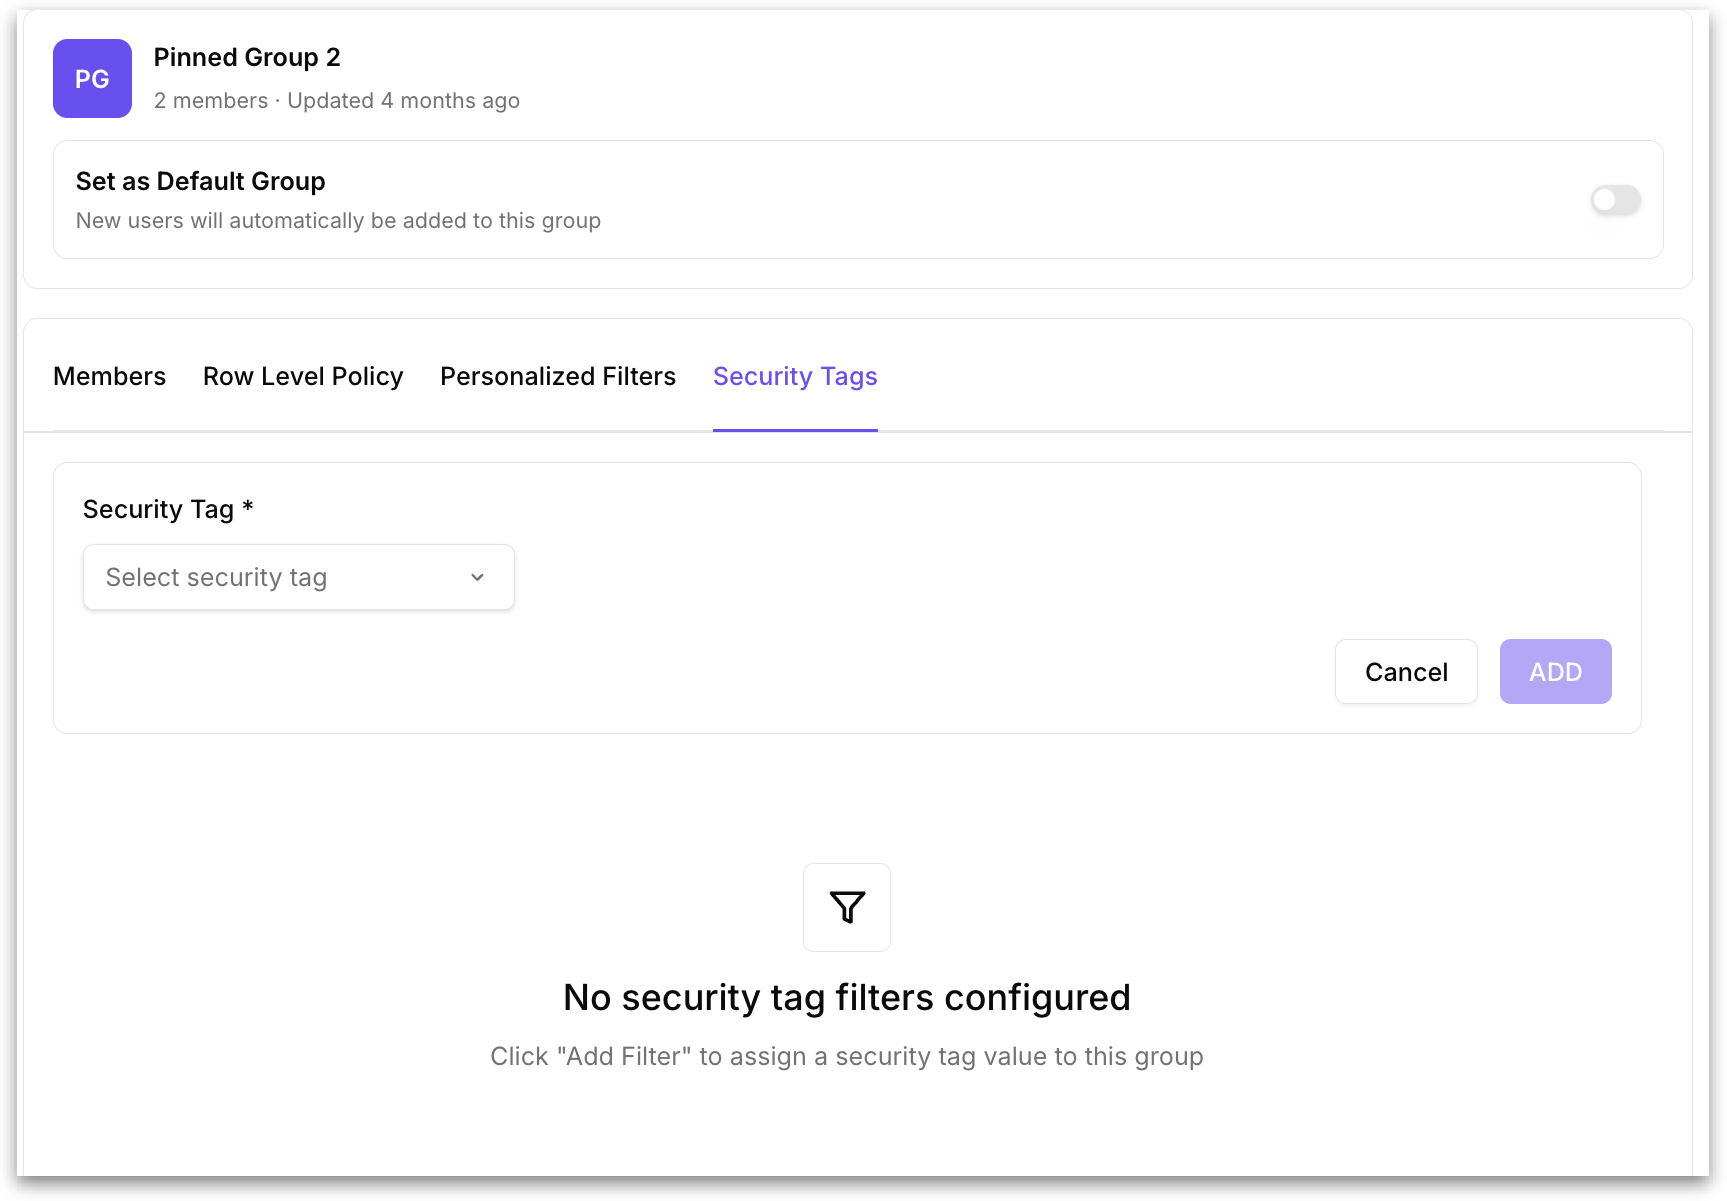
1. Open the **Groups** page and select the group from the list.
2. Click the **Security Tags** tab. It shows "Security tag filters for \[group name]." Click **Add Filter**.
**Fill in the filter (same for users and groups)**
1. **Security Tag** (required): Choose the tag this filter applies to, for example, Brand.
2. **Operator** (required): Choose how the values are matched. The available operators are **In**, **Contains**, **Not in**, and **Equals**.
3. **Values** (required): Type a value into the field and click **Add** to add it. Each value appears as a chip below the field. Add as many values as you need, and click the **×** on a chip to remove one.
4. Click **ADD** to save the filter, or **Cancel** to discard it.
The saved filter then appears in a table with **Security Tag**, **Operator**, and **Values** columns. Use the three-dot (⋮) menu on a filter row to manage it, and click **Add Filter** again to add more filters.
Once a user or group has a filter for a tag, and that same tag is mapped to a column in a Dataset or Business View, the user sees only the rows whose values match the filter. For example, a **Brand** filter using the **In** operator with the value *Pepsi* limits that user to rows where **Brand** is *Pepsi.*
#### **Step 2: Apply a Security Tag to a column**
1. Go to **Data → Prepare**, then **Edit** the Dataset or Business View you want, and select it so its columns are displayed in the editor.
2. Find the column you want to protect, and open its **dropdown menu** using the arrow in the column header.
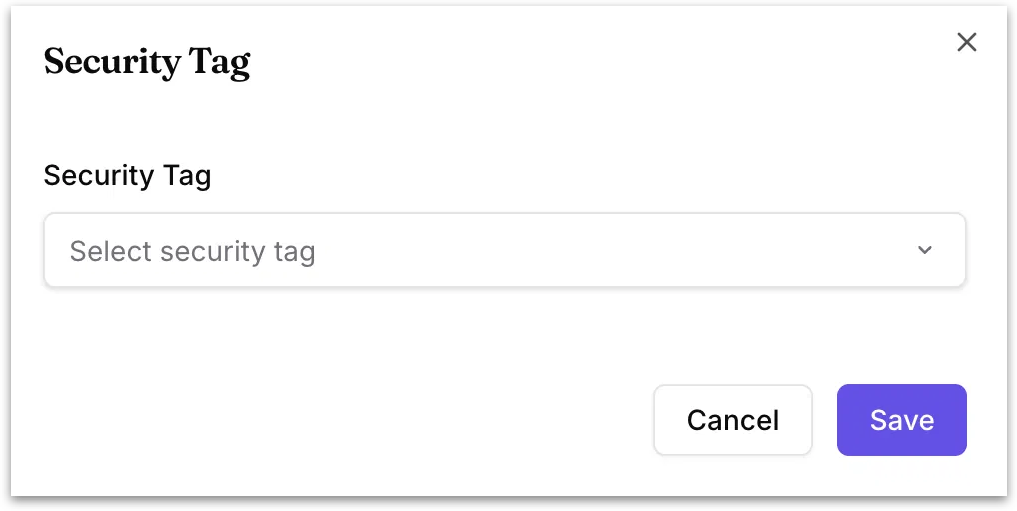
3. Choose **Security Tag** from the menu. The Security Tag dialog opens.
4. Open the **Select security tag** dropdown, pick the tag from the available list, and click **Save**. To clear a selection instead, use the **X** next to the chosen tag, then Save.
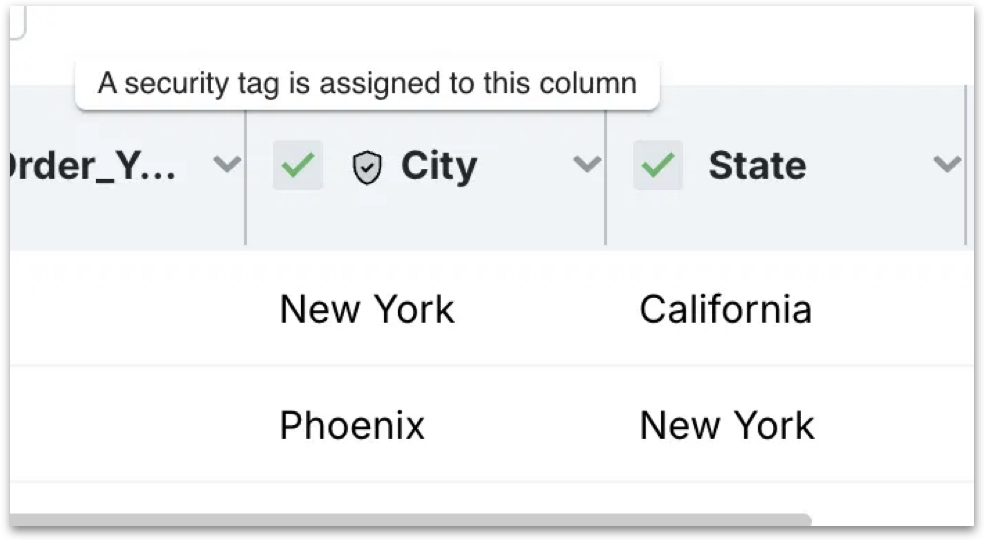
Once a tag is applied, a **shield icon** appears next to the column name. Hovering over it shows the tooltip "A security tag is assigned to this column," which lets you confirm at a glance which columns are governed by a policy.
The Prepare editor includes a **Publish** action in the top right. Use it to publish the Business View so your changes are applied.
### **What the user experiences**
Once both connections exist, Tellius automatically filters rows in live Kaiya Missions and live Apps so each user sees only the records matching their assigned values. Access in other modules is unaffected by the tag and continues to follow whatever RLP is in place.
Example: A company creates a **Region Security Tag** and applies it to the Region column of a sales Business View. The **"Sales – West"** group is assigned the condition *Region In {West}*. From then on, anyone in that group sees only rows where Region is West when they run an Agentic Mission or open a live App, while an admin with no such restriction continues to see all regions. Because the tag is defined once, changing the assignment updates access across all live Missions and Apps at the same time. To restrict what the same group sees in a Vizpad, set a Row Level Policy on the Business View.
---
# Agent Instructions
This documentation is published with GitBook. GitBook is the documentation platform designed so that both humans and AI agents can read, navigate, and reason over technical content effectively. Learn more at gitbook.com.
## Querying This Documentation
If you need additional information that is not directly available in this page, you can query the documentation by asking a question.
Perform an HTTP GET request on the following URL with the `ask` and `goal` query parameters:
```
GET https://help.tellius.com/settings/users-and-access/security-tags.md?ask=&goal=
```
`ask` is the immediate question: it should be specific, self-contained, and written in natural language.
`goal` is what the user is ultimately trying to achieve, the reason they need the answer. Sharing it helps GitBook give you a better, more relevant answer. A goal is most helpful when it describes the outcome the user wants rather than restating the question. For example, with `ask=how do I create an API token`, a goal like `automate deployments from our CI pipeline` lets GitBook tailor the answer to that use case.
The response will contain a direct answer to the question and relevant excerpts and sources from the documentation.
Use this mechanism when the answer is not explicitly present in the current page, you need clarification or additional context, or you want to retrieve related documentation sections.