Connecting to HDFS
Load data from HDFS into Tellius with support for CSV, Parquet, JSON, XML, and Excel. Configure parsing, caching, and advanced settings for faster analytics.
Under Data → Connect → Create New, select Hadoop from the available connectors. The following page will be displayed.
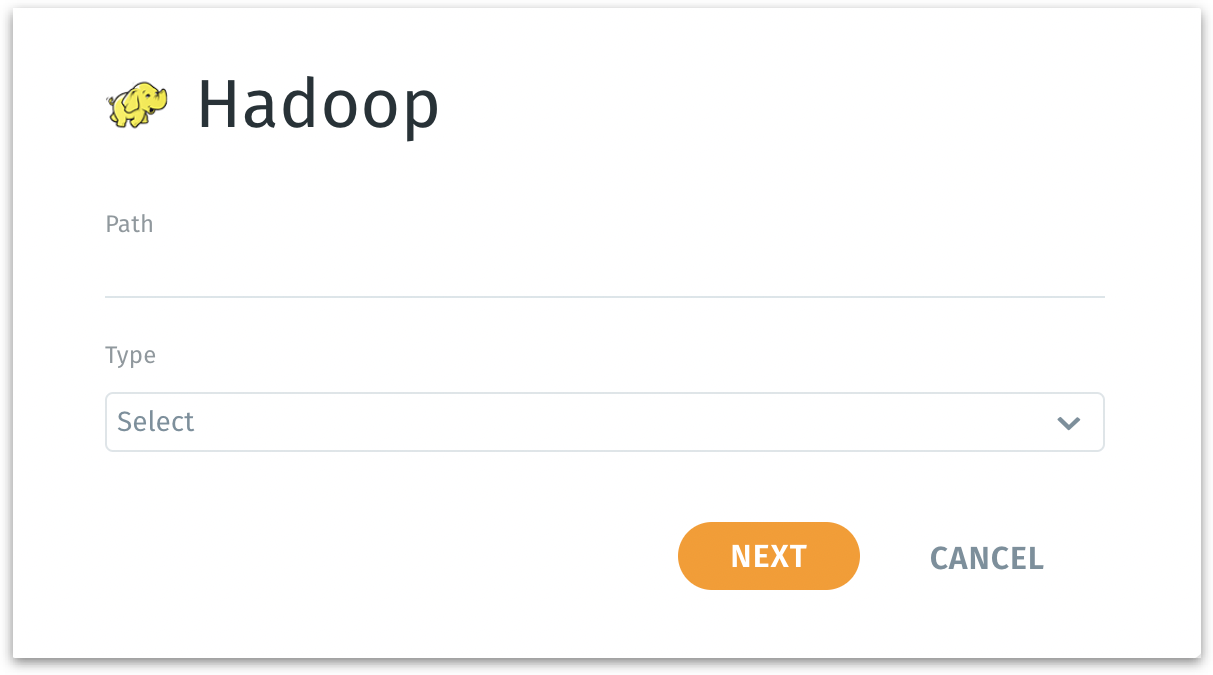
Path: Requires the full HDFS (Hadoop Distributed File System) location to the directory or file you want to access. This defines the specific data endpoint within your Hadoop environment that Tellius will connect to. It may point to a particular folder, a single data file, or a sub-directory inside HDFS.
Consult your Hadoop administrator or DevOps engineer for the correct HDFS path structure.
Common patterns might look like hdfs://namenode:8020/user/yourusername/dataset/ or simply /user/yourusername/dataset/ if the default HDFS configuration is used.
Ensure you have the correct permissions to read the files at the specified path. If you’re not sure, test the path using an HDFS command line tool (e.g., hdfs dfs -ls /user/yourusername/dataset/) or consult your Hadoop administrator.
Type: Select the data format stored at the specified HDFS path. For example, CSV, Parquet, ORC, JSON, or other supported file types.
Examine the files in your Hadoop directory or speak with the data engineering team to confirm the file type.
If you have direct access, you might use hdfs dfs -ls or hdfs dfs -cat commands to inspect file extensions or headers. For Parquet, no direct text inspection is possible, but the file extension typically indicates the format (e.g., .parquet for Parquet files).
Click the Next button to move to the next step in the data configuration process.
If you select CSV, TXT, XML formats, you’ll see specialized parsing options that allow you to handle delimiters, headers, stop words, case normalization, row tags, and flattening. This ensures Tellius can interpret and structure the data correctly.
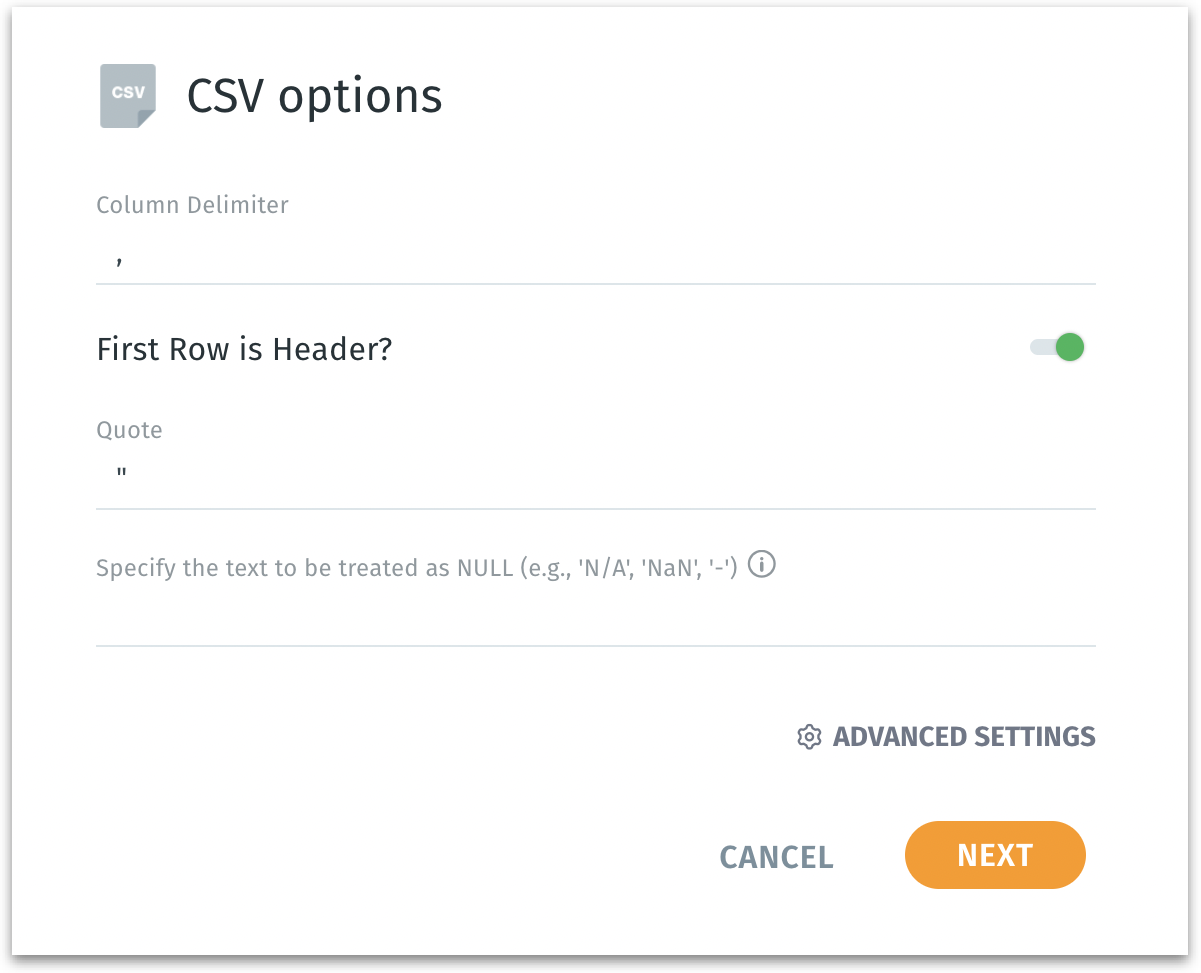
Column delimiter:
Ensures Tellius correctly identifies columns and parses the file structure accurately. This is the character used to separate individual columns in your CSV file (commonly a comma ,, but could also be a tab, semicolon ;, or another character).
First row is header?
Indicates if the first line in the CSV file contains column names rather than data. If enabled, Tellius uses the first row as column headers. If disabled, column names may be generated generically (like col1, col2, etc.).
Quote:
The character used to enclose textual fields, often ". Specifying the quote character helps Tellius correctly parse fields that contain delimiter characters inside them, such as commas in a quoted string.
Specify the text to be treated as NULL:
A text field where you can define certain strings (e.g., N/A, NULL, NaN) that should be interpreted as missing values. Multiple values can be separated by commas. These will be treated as NULL during import.
Click on Next to proceed further.
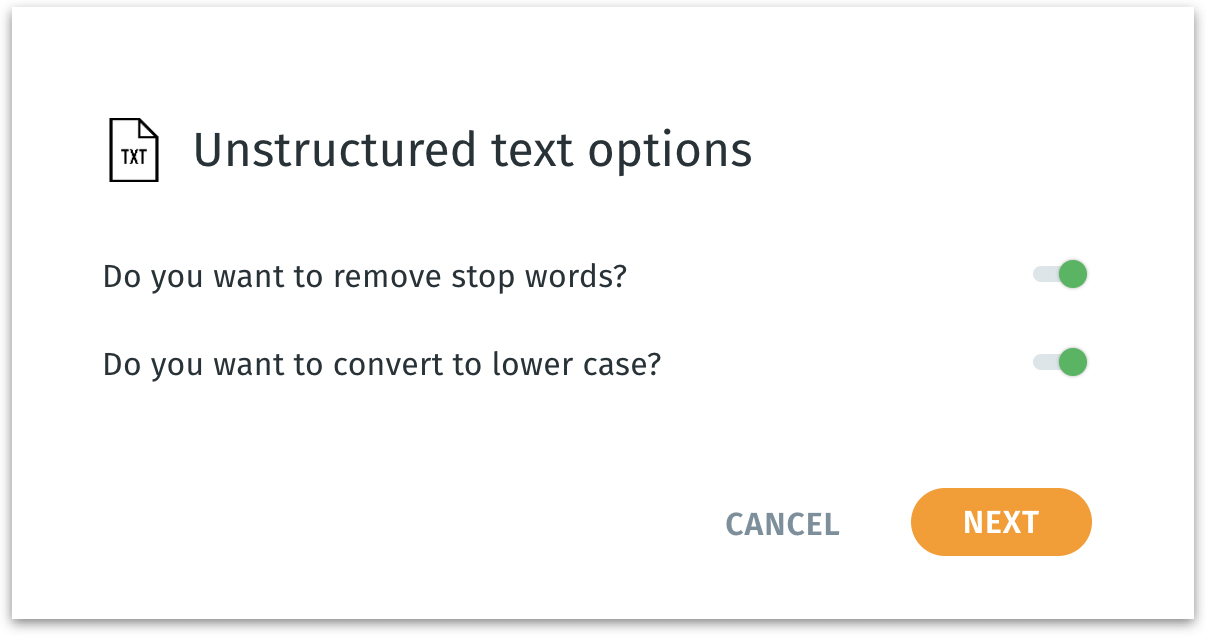
Do you want to remove stop words? A toggle to remove common, low-value words (like “the,” “is,” “and”) from the text. Removing stop words can improve text analysis performance and clarity.
Do you want to convert to lowercase? If enabled, this converts all text to lowercase. Normalizing text to lowercase makes searching, filtering, and analyzing text more consistent, ensuring that “Apple” and “apple” are treated the same.
Click on Next to proceed further.
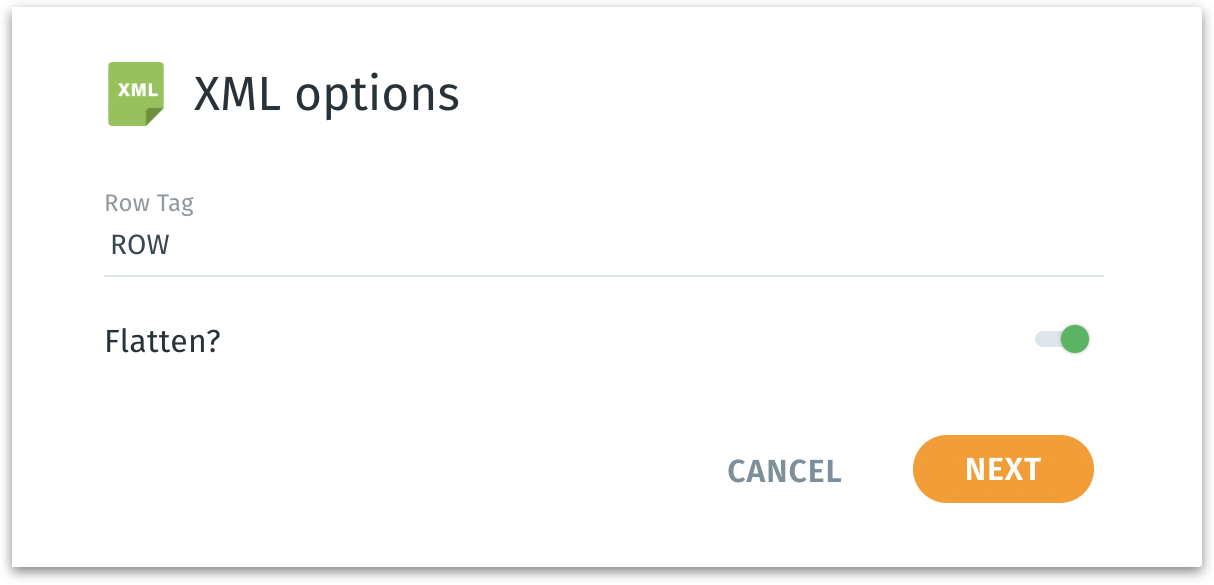
Row Tag:
The XML element name represents a single record or row in your XML file (commonly <ROW> or another tag). This tells Tellius how to identify each data record.
Flatten? If enabled, attempts to convert nested XML structures into a flat, table-like format. Flattening simplifies complex, hierarchical XML data. If disabled, you may need to handle nested elements manually later.
Click on Next to proceed further.
If you’re working with formats like JSON or Parquet (other than CSV, TXT, or XML), you’ll bypass these format-specific steps and jump straight to naming your dataset and selecting advanced loading and caching options.
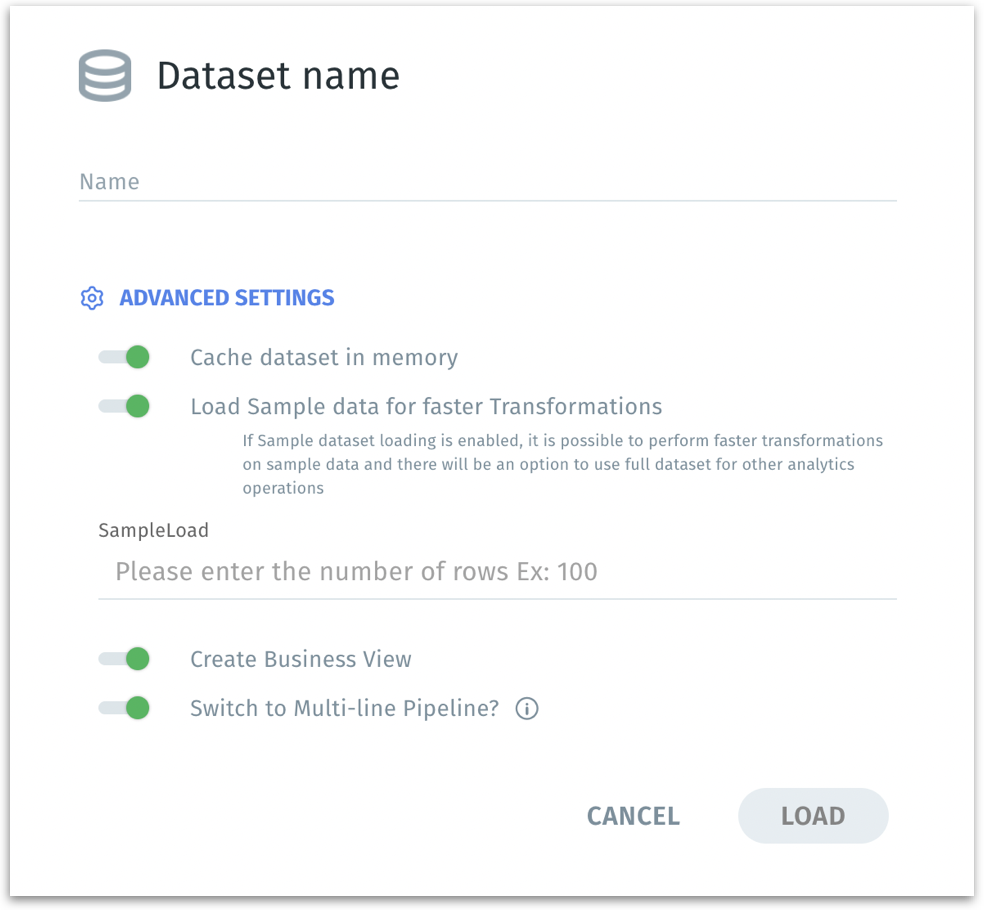
Dataset name: Assign a valid name to your new dataset (e.g.,
XYZ_THRESHOLD). Names should follow the allowed naming conventions (letters, numbers, underscores, no leading underscores/numbers, no special chars/spaces).
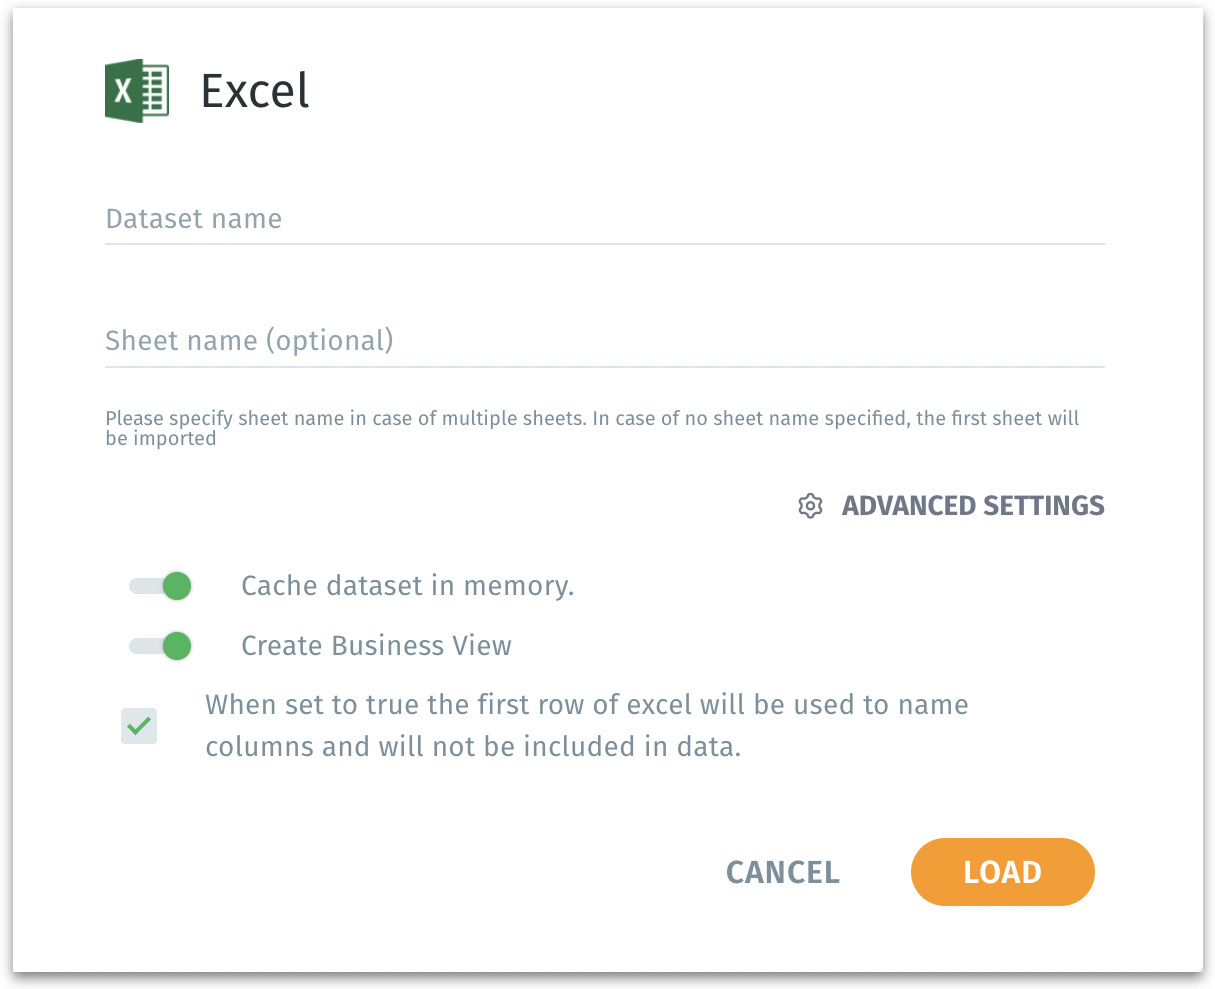
Sheet name (only for XLXS and XLS data type): If your Excel workbook contains multiple sheets, specify the sheet you want to import. If left blank, Tellius imports the first sheet by default.
First row as columns (only for XLXS and XLS data type): If checked, Tellius interprets the first row of the Excel sheet as column headers.
Advanced Settings
Cache dataset in memory: If enabled, keeps a cached copy of the dataset in memory (RAM) for even faster query responses. Memory caching dramatically reduces query time, beneficial for dashboards and frequently accessed data.
Load sample data for faster transformations: If enabled, only a sample of the data is initially loaded. Speeds up transformations and previews. Provide the number of rows whilch need to be considered as "Sample data". You can later decide to use the full dataset for final analysis.
Create Business View: Enables you to directly create a Business View after loading the dataset. A Business View provides a semantic layer making the data more accessible and understandable for business users. Streamlines your workflow by letting you move directly from data ingestion to semantic modeling.
Switch to Multi-line pipeline? (only for JSON data type) If enabled, Tellius treats each valid JSON object across multiple lines as a single record rather than splitting them incorrectly. Ensures proper parsing of JSON files that are not strictly one record per line. This is essential for complex JSON structures.
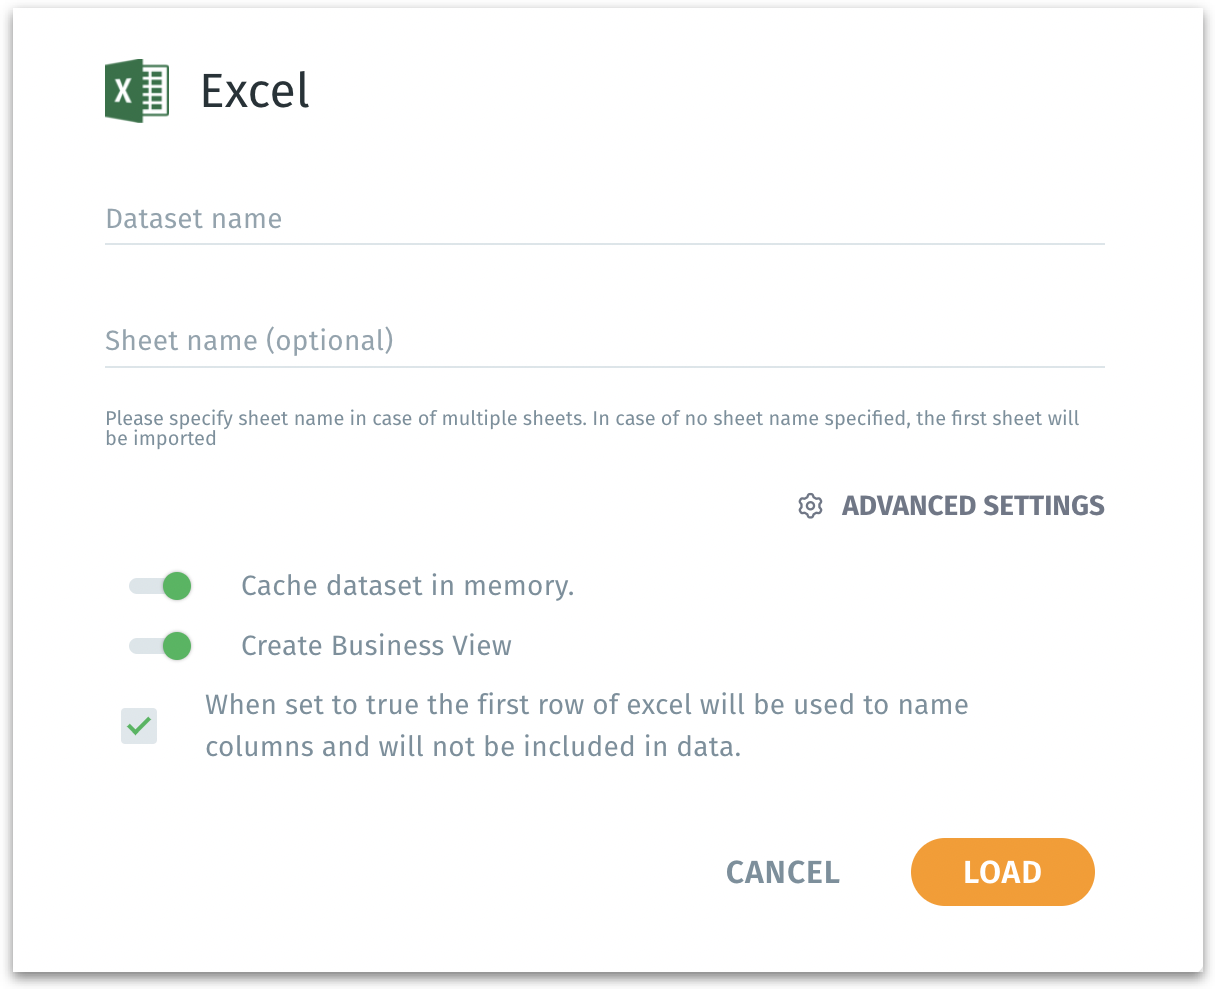
Excel load options Click on Load to finalize the process. After clicking Load, your dataset appears under Data → Dataset, ready for exploration, preparation, or business view configuration. Else, click on Cancel to discard the current importing process without creating the dataset.
After the dataset is created, you can navigate to "Dataset", where you can review and further refine your newly created dataset. Apply transformations, joins, or filters in the Prepare module.
Best Practices
Ensure that the Tellius environment (i.e., the user or service account used) has the correct read permissions on the specified HDFS path. In a secure Hadoop cluster, you may need Kerberos authentication or other access configurations.
Before entering the path into the UI, use Hadoop CLI commands or a Hadoop file browser tool to confirm that the path and files exist.
Confirm that all files within a specified directory are of the same format (e.g., all CSVs or all Parquet files) to avoid parsing issues.
Was this helpful?